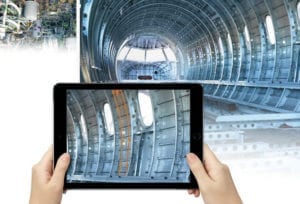
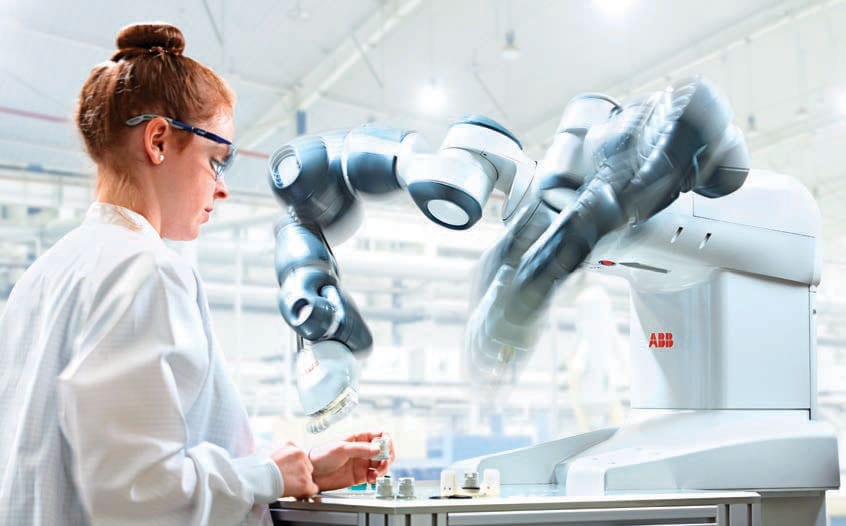
Above: Cyber-physical systems physically support workers doing a range of tasks that would otherwise be too tiring, unpleasant or dangerous. Credit: ABB Group
METROLOGY TRENDS: THE SMART FACTORY
Smart Manufacturing, or Industry 4.0, is the trend of automating manufacturing operations with increased automation and data exchange. Enterprises improve their ability to adapt to the dynamic conditions of a global market by using advanced information and manufacturing technologies to make their physical processes more flexible. This relies on the digitization of the design and manufacturing data so that manufacturing operations can be computerised.
Processes are integrated and automated and can be monitored and optimised in real time (or as close to real time as possible), taking advantage of all the available data. This requires a continuous digital thread or ‘digital twin’ – a virtual copy of model of the whole operation – which helps to create areas of consolidation, convergence and data exchange between the design, engineering and manufacturing activities.
Geography potentially becomes less significant when operations can be connected virtually. One consequence of smart manufacturing is the digitization of the supply chain. Digitization offers the promise of a completely integrated supply chain ecosystem that is transparent to all players involved, ranging from raw material and component suppliers to the final customer.

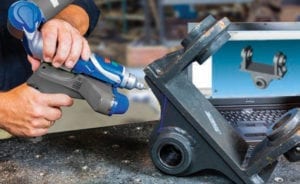
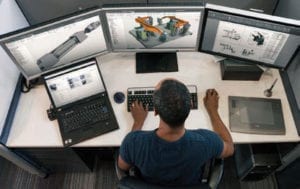
Digitization of design and manufacturing data extends computerisation of manufacturing operations. Credit: FARO
Industry 4.0 is often described as being based on four key principles.
- Interoperabilty describes the ability of manufacturing equipment and sensors to connect and communicate via the Internet, both with other devices and with people.
- Information Transparency means that information systems can analyse the collected data to create a realistic virtual model of the physical world.
- Technical Assistance describes how systems support humans in mental and physical tasks. Information systems support problem solving and decision making by providing workers with relevant information in a useful form. ‘Cyber physical systems’ physically support workers doing a range of tasks that would otherwise be too tiring, unpleasant or dangerous.
- Decentralised decisions allow automated systems to perform their tasks as autonomously as possible, making decisions based on the relevant data.
Metrology is a critical enabling technology for the Smart Factory. Information transparency is based on timely and accurate measurements from the real world; autonomous systems depend on the verification and feedback provided by physical measurements.
Real-time measurement

Above: Many newer measuring systems have automated measurement capability.
In-process metrology is becoming much more prevalent. Rather than confining inspection to a specialist discipline addressed at the end of the manufacturing process or in the down time between other operations, in-process inspection incorporates measurement operations within the manufacturing process. Inline measurements are carried out with integrated probes or sensors while parts move along the manufacturing line; ‘near line’ measurements are carried out adjacent to the manufacturing line. Both approaches help avoid the delays and additional setup operations associated with transporting parts to the controlled environment of the inspection department. Carrying out measurement operations sooner can reveal problems earlier, providing opportunities to minimise the impact of any rework – it is easier to correct a problem while the part is still on the machine. Inline inspection can also reduce the chances of problems developing; if variation is detected early enough, it may be possible to take corrective action before it becomes a problem.
In-process inspection is implemented in different guises, depending on the application. One of the simplest applications is machine tool probing: taking measurements with spindle-mounted probes from providers such as Renishaw or Heidenhain. Probing has long been used for simple part setting at the start of the machining process. Machine tool probes are increasingly being used for more sophisticated inline inspection applications. Improvements in technology – including the adoption of high accuracy strain gauge probes for accurate measurement of 3d forms, and improved software functionality – are helping to transform machine tool probing into a metrology-driven automation tool.
Portable, inbuilt or robotic?
Other alternatives for inline and near-line measurements include dedicated sensors and gauges, and the increasing range of rugged shopfloor CMMs and gauging systems. Portable measuring equipment is well established for manual inspection on the shopfloor but many of the newer systems have automated measurement capability. Robots may be used to help automate the measurement – sometimes directly, by manipulating portable scanning equipment, and sometimes indirectly, by picking and placing parts to load automated measuring systems.
In addition to simple ‘pass/fail’ checks, in-process measurements can drive process improvement and to help manage automation operations. Basic measurements are used to help ensure the safe running of unattended processes- checking that parts or fixtures are loaded correctly, that tooling is correct, or as an aid to part recognition in a flexible line. Inspection operations also help to maintain and control aspects of the manufacturing processes. A common example is managing the wear of cutting tools, in which wear is monitored by measuring the machined features; measured deviation provides useful data for applying tool wear compensation.
Measurement data is also used to simplify fixturing requirements and to help make manufacturing processes more cost-effective and robust. Accurate fixturing is important for ensuring accuracy and managing tolerance stack-ups but designing and creating dimensionally precise physical fixtures can be expensive and time-consuming, and a challenge to flexible operations. Modular fixturing can help but, typically, there are trade-offs in convenience, cost and accuracy.
Looser definition and tighter tolerances

Above: Virtual fixturing uses metrology techniques to extend part-setting capability provided by probing.
Companies in the UK motorsport industry use a virtual fixturing technique to carry out finish machining on complex composite components. Composites can be difficult to fixture because of the tolerance stack-up: the overall component can have a small amount of distortion but very tight tolerances are required in critical areas. Trimming or countersinking operations must conform to any deviations in the local form.
Virtual fixturing solves the fixturing problem from a completely different perspective. Rather than physically positioning the part to fit inside a tightly defined location, measurements accurately determine the actual position of the part or feature within a more loosely defined location, and subsequent operations are adjusted to match the measured position. Virtual fixturing uses metrology techniques and alignment calculations to extend the simple part setting capability provided by probing

