MEASURED PROGRESS
As an enabling technology, Metrology must constantly develop and evolve along with the fields it serves. Christian Young
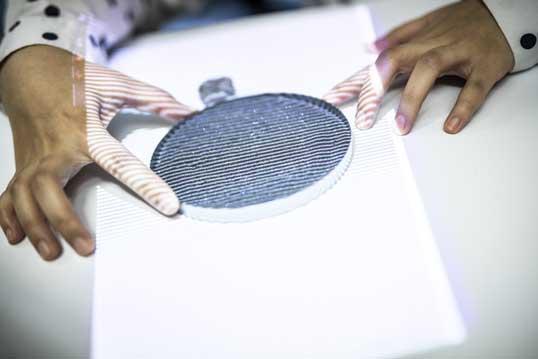
Emerging technologies such as Additive Manufacturing require novel metrology products, such as bespoke deflectometry powder bed measurement.
The rate at which technology is changing in fields such as the automotive and aerospace sectors is driving research institutes, including the Future Metrology Hub, to develop novel solutions to these complex challenges.
The current trend towards higher efficiency and electric vehicles is creating a significant demand for lightweight parts and assemblies, made from composite materials or aluminium castings; these present a number of difficulties in terms of measurement and quality control. A common characteristic of these parts is the incorporation of complex freeform geometries, requiring measurements across a range of scales from microscale surface characterisation to macroscale form accuracy. Whilst this is difficult to achieve using conventional end of process metrology, a greater risk is that of defects and reject parts which could represent a significant cost given the high value of each part.
New processes, different approaches
Other areas, such as the expanding field of Additive Manufacture and an increasing demand for customisable or bespoke products, create further challenges for manufacturers seeking to guarantee part conformity. The old approach of Go/No Go gauges and standardised measurements of a few crucial features is no longer suitable when every part you make is different!
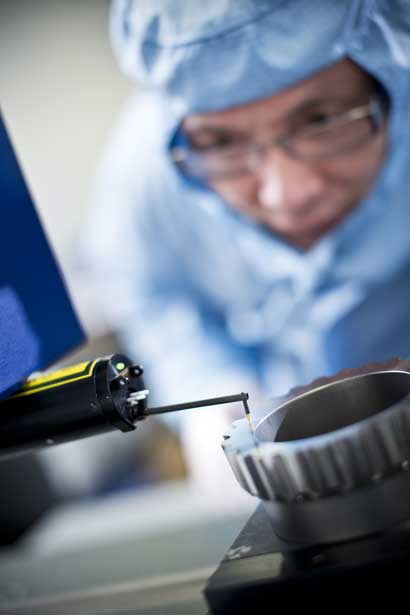 These factors require a different approach, a move away from measurement as an end of process consideration and towards true in-process metrology. It is important to note that this is different to in-line metrology, carrying out conventional measurements at the end of each manufacturing process, and requires the development of new metrology systems capable of being embedded within the manufacturing process.
The approach taken in determining a measurement strategy must also change to fully utilise the capabilities of a network of embedded sensors (often referred to as Sensornets). At present, most measurements are discrete and are often taken on only a sample of parts for large production runs; this makes sense when you have a Quality Control (QC) operative who must physically handle the part and disrupt the manufacturing process to carry out a measurement. With embedded metrology, this disrup tion, and associated cost, is minimised or eliminated and continuous monitoring is possible. Of course, this approach brings with it new challenges such as the need to process vast quantities of data.
Hands off
Non-contact systems such as optical sensors (which use the properties of light such as interferometry or laser scanning) and machine vision systems (which use software to analyse and evaluate captured images such as photogrammetry) are ideal for use in in-process measurement due to their ability to carry out measurements without having to physically contact the workpiece. Measurement devices using these techniques are widely available and frequently used across many sectors, indeed several automotive manufacturers have featured such systems in adverts as a way of assuring build quality; however, they are often bulky and require skilled operators.
Significant effort is being made across the research community into adapting these techniques for use in a production environment. The adaptions may consist of miniaturising the sensor head or otherwise allowing a probe to be positioned remotely to the main device through the use of optical fibres.
One device, many functions
Other developments include the ability to carry out rapid multiscale measurement using a single device. This significantly reduces the time taken to carry out measurements over a whole part. It is important to note that the capability for rapid multiscale measurements is not just of benefit when measuring the finished part; embedded metrology can also be used to increase the capability of machine elements such as assembly robots and allows for significant improvements in positional accuracy and motion control. Of course, the benefits are not just limited to manufacturing and these devices could be incorporated into any number of autonomous systems including autonomous vehicles.
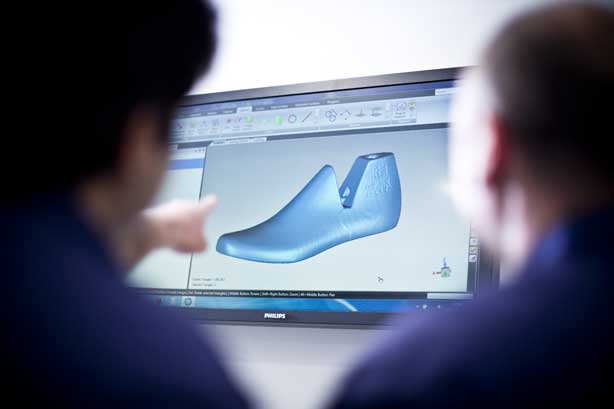 Another non-contact technology which is gaining popularity, is the use of X-Ray Computed Tomography (XCT) which is being heavily driven by the pace of developments in additive manufacture. X-rays have been used as a means of defect detection for decades and the ability to see inside an object without the need to open it has obvious benefits. However, in recent years the ability to generate 3D point cloud data from multiple 2D scans has enabled XCT to become viable measurement technique capable of not only visualising features, but quantifying them as well. The method is still in its infancy and significant work must be carried out into developing robust standards for XCT measurement to ensure it is a repeatable and reliable technique for use in an industrial environment.
Managing data
One obvious challenge facing all of these techniques is the need to handle vast quantities of data; orders of magnitude more that can be gathered and evaluated by a single operative. This requires the creation of automated systems that can rapidly process and interpret data and then make decisions about how to use this data to control process, implying the use of Artificial Intelligence or other Smart systems. To enable such a system to function effectively, several challenges must be overcome.
The first is the ability to rapidly communicate data between the collection device and the control unit. Wires and optical fibres are robust and secure but may prove a hindrance to creating networks of embedded sensors while new high speed wireless communication systems such as 5G networks present a possible solution but then introduce the challenge of secure storage and communication of, potentially, immensely valuable data.
A second challenge is need to extract maximal data from disparate and diverse data sources requiring the creation of sophisticated mathematical models which can generate machine readable knowledge which can be used in decision making.
- Non-contact technologies include laser tracking marker placement
- 3D vision systems and similar non-contact technologies collect vast amounts of data
Finally, real-time evaluation of the traceability and uncertainty of the measurements and the control systems is needed, to confirm model validity.
So far, we have looked at many of the technical challenges involved in measurement science. However, the greatest challenge that industry may face, is the need to develop metrology skills in their workforce. Production and manufacturing engineers are rapidly going to find that they need to be much more knowledgeable about metrology practice and interpreting measurement data if they are going to stay ahead of the competition.
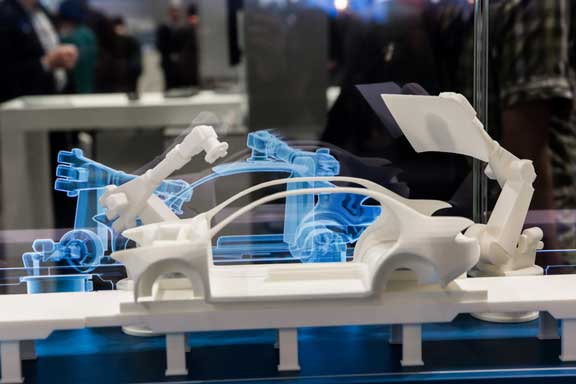
The ultimate aim of the collection of large amounts of metrology data is the creation of true ‘Digital Twins’.
DIGITAL TWINS
Digital Twins take into account all the variables affecting the manufacture of a part to and enable a fully accurate model to be developed, which can be used to simulate the manufacturing process to predict and compensate for any variation. Written down this sounds simple; in practice, however, the need to measure and account for every material, environmental and physical factor and to evaluate the uncertainty of theme measurements in real time presents a challenge that cannot be overstated.
Most people involved in manufacturing will be familiar with the phrase Industry 4.0, the Fourth (and current) industrial revolution. Nowhere is the term ‘revolution’ more appropriate than in the field of metrology.
Measurement is ceasing to be a separate occupation associated with a QC department at the end of the manufacturing process; instead, it will become an integral aspect of production and manufacturing. This will enable manufacturers to achieve greater throughput at reduced cost, while incorporating increased customisability.

